Well, it’s been a while since I’ve been able to blog! The past few weeks have been crazy! I won’t go into too much detail but my husband and I have been working on starting our own business which has taken so much of my free time. I’ve been creating content and working on checklists for that business in between taking care of my sweet Ava (who, by the way is now 5 months old!) We hope to be launching the business in just a couple of weeks. So stay tuned!
On top of taking care of my baby and starting a business, I started teaching private viola lessons. I’ve really loved doing that. Music used to be a HUGE part of my life. I actually was a full-tuition scholarship music recipient and studied as a music major for the first 2 years of my college education. I’ve just had so much going on the past 5 years of life that I haven’t had a lot of time to dedicate to music, so I’m glad that I now get some dedicated time to teach future violists each week!
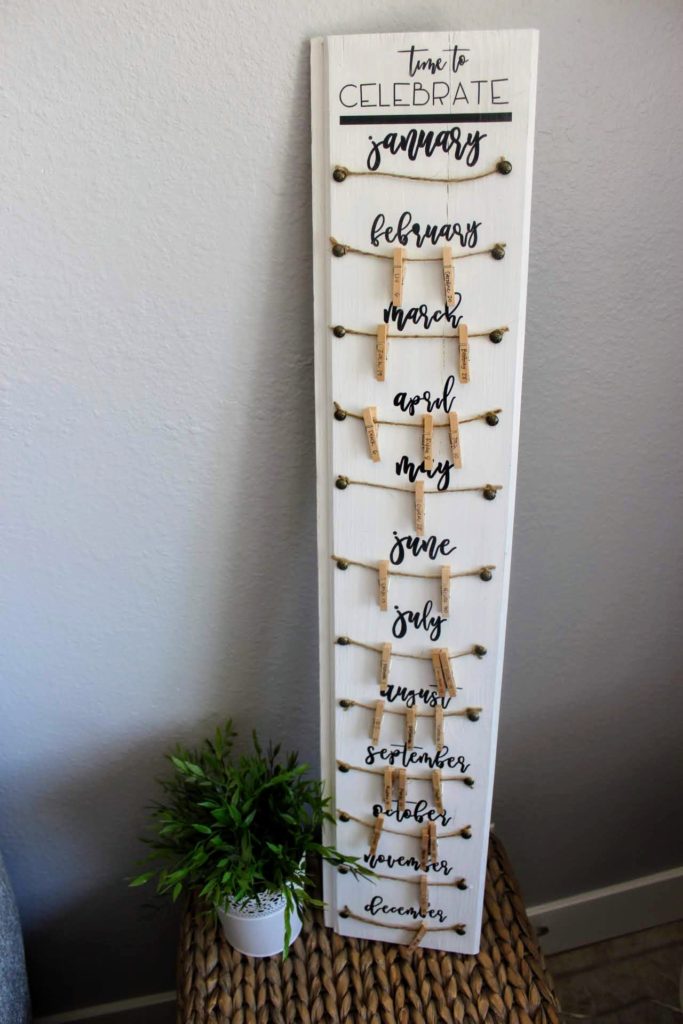
Anyway, in the midst of all this chaos was Mother’s Day. I have the world’s best mother. I don’t think anyone can fully understand the sacrifices a mother makes until a person becomes a parent. My mom raised 5 of us and was so, so dedicated to our development as human beings. I do not know how she did it all! I am so indebted to her for all that I am and have. With Mother’s Day quickly approaching, a few weeks ago my sister reached out to me and suggested we go in on a gift together. She had a picture of a cute birthday calendar that my mom could use to keep track of all of her kids’ and grandkids’ birthdays.
After Ryan and I looked over the picture of the calendar we decided that we would be able to create one similar but a little bit more personalized for my mom. This project was super fun and not too difficult!

To start, we found a piece of wood from the scrap pile at the Home Depot. Remember- I wrote about this in a previous post (click here). Finding these scraps of wood really help bring down the overall cost of the project! I can’t remember the exact dimensions, but the wood was 7.5 inches wide and then cut it down to 36 inches long. We were able to make two 36 inch long signs and had maybe an extra 12 inch piece. Since we were able to cut two 36 inch long pieces, we were able to make a birthday calendar for Ryan’s mom as well!
We decided to paint the sign white as it would match the decor of both my mom’s home as well as Ryan’s mom’s home. If you are looking for a more distressed look, you can water down the paint- this will let the grain from the wood show through!

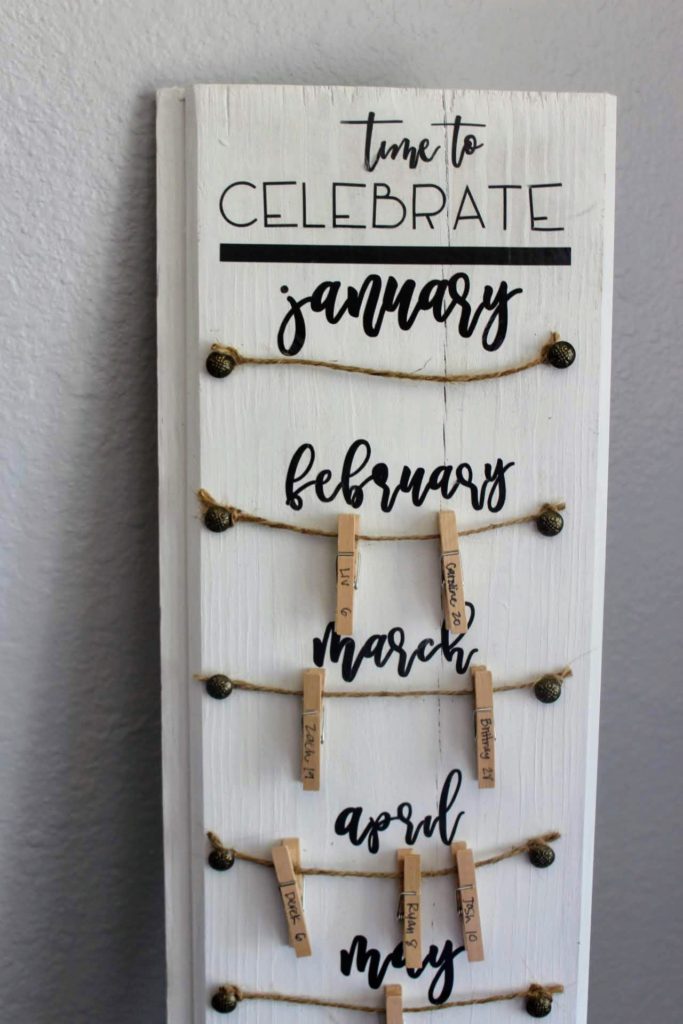
After letting the paint dry I measured out how big I wanted the lettering to be and decided on a header. The world “Celebrate” ended up being .679in tall and the months were all 1.3in tall. Make sure to measure the spacing in between each of the months too.
I used my Cricut Maker to cut vinyl for the letters on the sign. This was a bit tedious but I think it turned out great looking! I am going to link the transfer paper I used below because IT WAS AMAZING!! I’ve used other transfer paper before and it’s always been such a pain. However, the transfer paper I used this time was not too sticky, easy to apply, and easy to remove! HIGHLY recommend. I would also suggest that you invest in a weeder to help pick apart the design from the rest of the vinyl. One of these is essential if you have any small pattern or lettering like I did. You’ll also need a scraper or a device like it to help you adhere the vinyl to the sign.
If you are anxious about starting your first vinyl project or think you might need a refresher, go ahead and watch this youtube tutorial! I found this to be super helpful. Remember, you’ll probably make a few mistakes but so does everyone else 😉

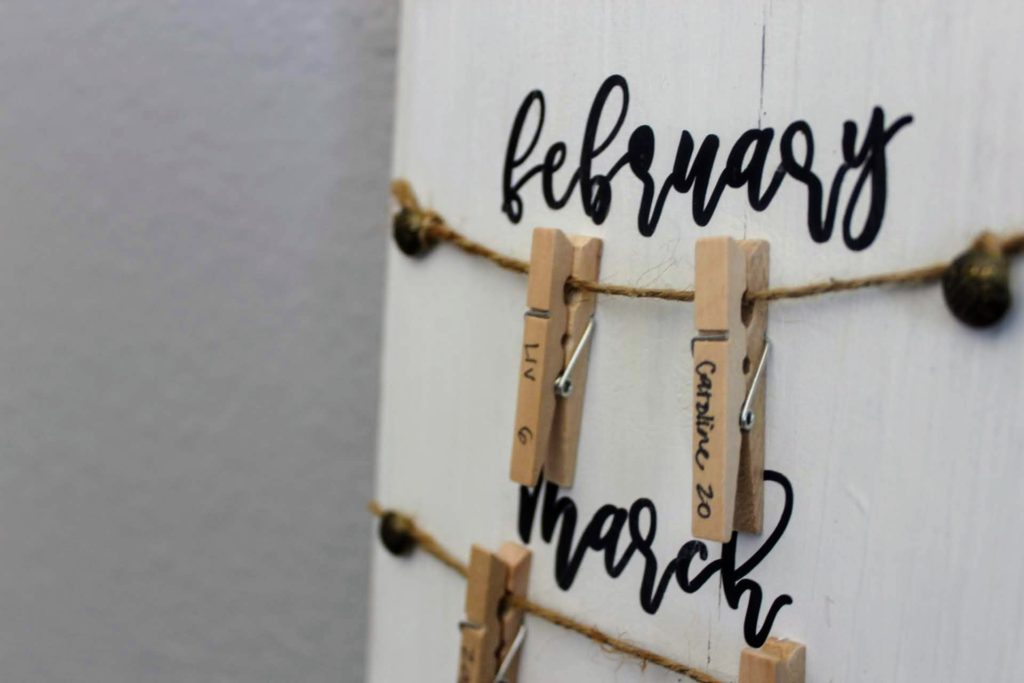
After you have applied the vinyl lettering, use some pins to nail into the wood and tie some twine onto the ends. Finish off the project by writing the names of your family members onto some mini clothes pins, clip them to the month they belong to, and WAH-LA! You have a custom, homemade, and easy-to-add-to family birthday calendar!
I hope you liked this quick tutorial! I think so often we see things in stores that we really admire but we often forget that we are capable of making those things ourselves. Not only that but also we can usually make them for less money AND personalize them.
I really hope my mom and my mother-in-law enjoy their birthday calendars. I have memories of staring at my own grandmother’s birthday calendar that she hung in her kitchen and trying to memorize everyone’s birthdays (which was basically impossible since I have nearly 30 cousins on that side!) Hopefully my children and nieces and nephews will also have fond memories of this birthday calendar hanging in the grandma’s house.
xoxo
Nicole
